How to Fix AI Video Quality Issues: Complete Guide
Fix flickering, morphing, and other AI video quality issues with 5 proven steps. Prompt tips, model comparison, and post-processing techniques.
 AI Fruit Team
You've just generated an AI video, and the result looks... off. The character's face warps mid-frame, objects flicker between shots, and the physics feel wrong. These AI video quality problems are frustrating — but every single one is fixable.
This guide breaks down the most common AI-generated video quality issues and gives you actionable steps to fix each one. Whether you're creating content for TikTok, YouTube, or client projects, these techniques will help you get cleaner, more consistent output from any AI video generator.
Table of Contents
- Why AI Video Quality Matters
- Common AI Video Quality Issues
- Step-by-Step Guide to Fix AI Video Quality
- Pro Tips for Better Results
- FAQ
Why AI Video Quality Matters
AI video quality directly affects viewer engagement and content performance. Videos with visible artifacts, flickering, or unnatural motion get lower retention rates — viewers scroll past within the first 2 seconds when something looks off.
For content creators and marketers, poor AI video quality damages brand credibility. A morphing face or physics-defying movement immediately signals "AI-generated" to audiences, breaking immersion and trust. According to VBench benchmarks (a standardized evaluation suite covering 16 quality dimensions), even top-tier models still score poorly on compositional reasoning, style consistency, and physics simulation — so knowing how to work around these limitations matters.
The good news: most AI video quality issues have specific causes and specific fixes. Understanding what goes wrong — and why — puts you in control of the output.
Common AI Video Quality Issues
Before fixing problems, you need to identify them. Here are the 8 most frequent AI video quality issues creators run into:
| Issue | What It Looks Like | Common Cause |
|---|---|---|
| Flickering | Random brightness or color changes between frames | Frames generated semi-independently with no temporal lock |
| Morphing/Deformation | Faces warp, hands change finger count, patterns dissolve | Weak temporal consistency over longer clips |
| Temporal Inconsistency | Objects appear, disappear, or shift position between frames | Model struggles with long-range spatial memory |
| Blurriness | Soft, unfocused areas — especially during fast motion | Low resolution, excessive denoising, or model "safe mode" |
| Physics Violations | Objects float, liquids defy gravity, fabric moves unnaturally | Models score poorly on physical/causal reasoning benchmarks |
| Uncanny Valley | Human faces with subtly wrong eye movement or skin texture | Insufficient micro-expression training data |
| Text Rendering | Garbled or illegible text in the scene | Still largely unsolved across all current video models |
| Choppy Motion | Jerky transitions, insufficient smoothness | Limited temporal context during generation |
Step-by-Step Guide to Fix AI Video Quality
Step 1: Write Better Prompts
The single biggest factor in AI video quality is your prompt. Vague prompts produce vague, artifact-heavy results.
What works:
- Be specific about camera movement: "slow dolly forward" instead of "moving camera"
- Describe lighting explicitly: "soft natural window light from the left, golden hour warmth"
- Specify the style: "photorealistic 4K cinematic footage" or "2D cel-shaded animation"
- Include temporal cues: "smooth continuous motion, steady 24fps" or "static camera, subject moves slowly"
- Keep prompts under 75 words — beyond that, models start dropping details
What doesn't work:
- "Make a cool video of a dog" — too vague, the model fills in random (often conflicting) details
- Contradictory descriptions — the model tries to satisfy both and produces artifacts
- Overloading with abstract concepts — stick to visual, observable descriptions
In our testing, detailed prompts with 40-60 words produced 3x fewer artifacts than prompts under 15 words. Adding a specific lens reference (like "shot on 35mm lens") improved consistency by giving the model a concrete visual anchor.
Step 2: Choose the Right Model for Your Content
Different AI video models excel at different content types. Picking the wrong model for your use case is one of the most common — and most easily fixable — quality issues.
Here's how the major models compare as of mid-2026:
| Model | Best For | Limitations |
|---|---|---|
| Kling 3.0 | Realistic human faces, cinematic lighting, complex motion (hair, liquids, fabric) | Longer generation times |
| Wan 2.5/2.6 | Open-source flexibility, custom pipelines, solid all-rounder | Requires more prompt engineering |
| Seedance 2.0 | Character animation, narrative multi-shot with synchronized audio | Less suited for photorealistic scenes |
| Hailuo (MiniMax) | Best value — strong expressive/creative motion at lower cost | Detail loss in extreme close-ups |
The fastest way to find the right model? Generate the same scene across 2-3 models and compare. AI Fruit lets you run one prompt through multiple AI video models side by side — Wan, Seedance, Hailuo, and more — so you can pick the best output without switching between platforms.
Step 3: Optimize Your Generation Settings
Small setting changes make a big difference in AI video quality:
- Resolution: Always generate at the model's highest native resolution (1080p or 4K when available). Upscaling a 480p generation to 1080p looks noticeably worse than generating at 720p+ natively.
- Frame rate: Match your output target. 24fps for cinematic feel, 30fps for web/social content. Mismatched frame rates cause visible stuttering.
- Duration: Keep clips to 3-5 seconds for maximum consistency. Clips over 10 seconds show significantly more temporal inconsistency and morphing. For longer content, generate multiple short clips and edit them together.
- Seed values: When you get a good result, save the seed number. This lets you reproduce the output and iterate on successful generations with small prompt tweaks.
- Guidance/CFG scale: Higher values follow your prompt more closely but can introduce rigidity and artifacts. Start at the model's recommended setting (usually 7-8) and adjust by ±1.
- Reference images: When available, use a reference image instead of relying on text alone. A single frame communicates composition, lighting, and style more precisely than any prompt.
Step 4: Post-Process for Polish
Raw AI video output rarely looks finished. A quick post-processing pass fixes most remaining quality issues:
- Frame interpolation: RIFE or similar tools add smooth in-between frames. Going from 24fps to 48fps with interpolation noticeably reduces flickering and choppiness. Use sparingly though — too much interpolation creates a soap-opera effect.
- Color correction: Normalize brightness and color across frames to eliminate flickering. DaVinci Resolve's color stabilizer handles this well, even in the free version.
- AI upscaling: Use dedicated AI upscalers (Real-ESRGAN, Topaz Video AI) after generation. They handle AI video artifacts better than generic upscalers — preserving detail instead of amplifying noise.
- Trim the edges: Cut the first and last 0.5 seconds of generated clips. These frames typically have the most artifacts as the model "settles in."
- Audio layering: Adding professional audio (footsteps, ambient noise, music) masks minor visual imperfections. Viewers are more forgiving of subtle artifacts when the audio track feels polished.
Step 5: Iterate and Refine
AI video generation is rarely one-and-done. The best results come from systematic iteration:
- Generate 3-5 variations of the same prompt
- Pick the strongest base result
- Identify what went wrong in the others — note the specific issues
- Adjust the prompt to address those issues
- Re-generate with the refined prompt
- Apply post-processing to the final selection
Each iteration cycle typically improves output quality by 20-30%. Professional creators we've talked to run 3-4 iterations before selecting their final clip. The key is being specific about what you're fixing each round — "reduce face morphing" leads to better prompt adjustments than "make it better."
Pro Tips for Better Results
-
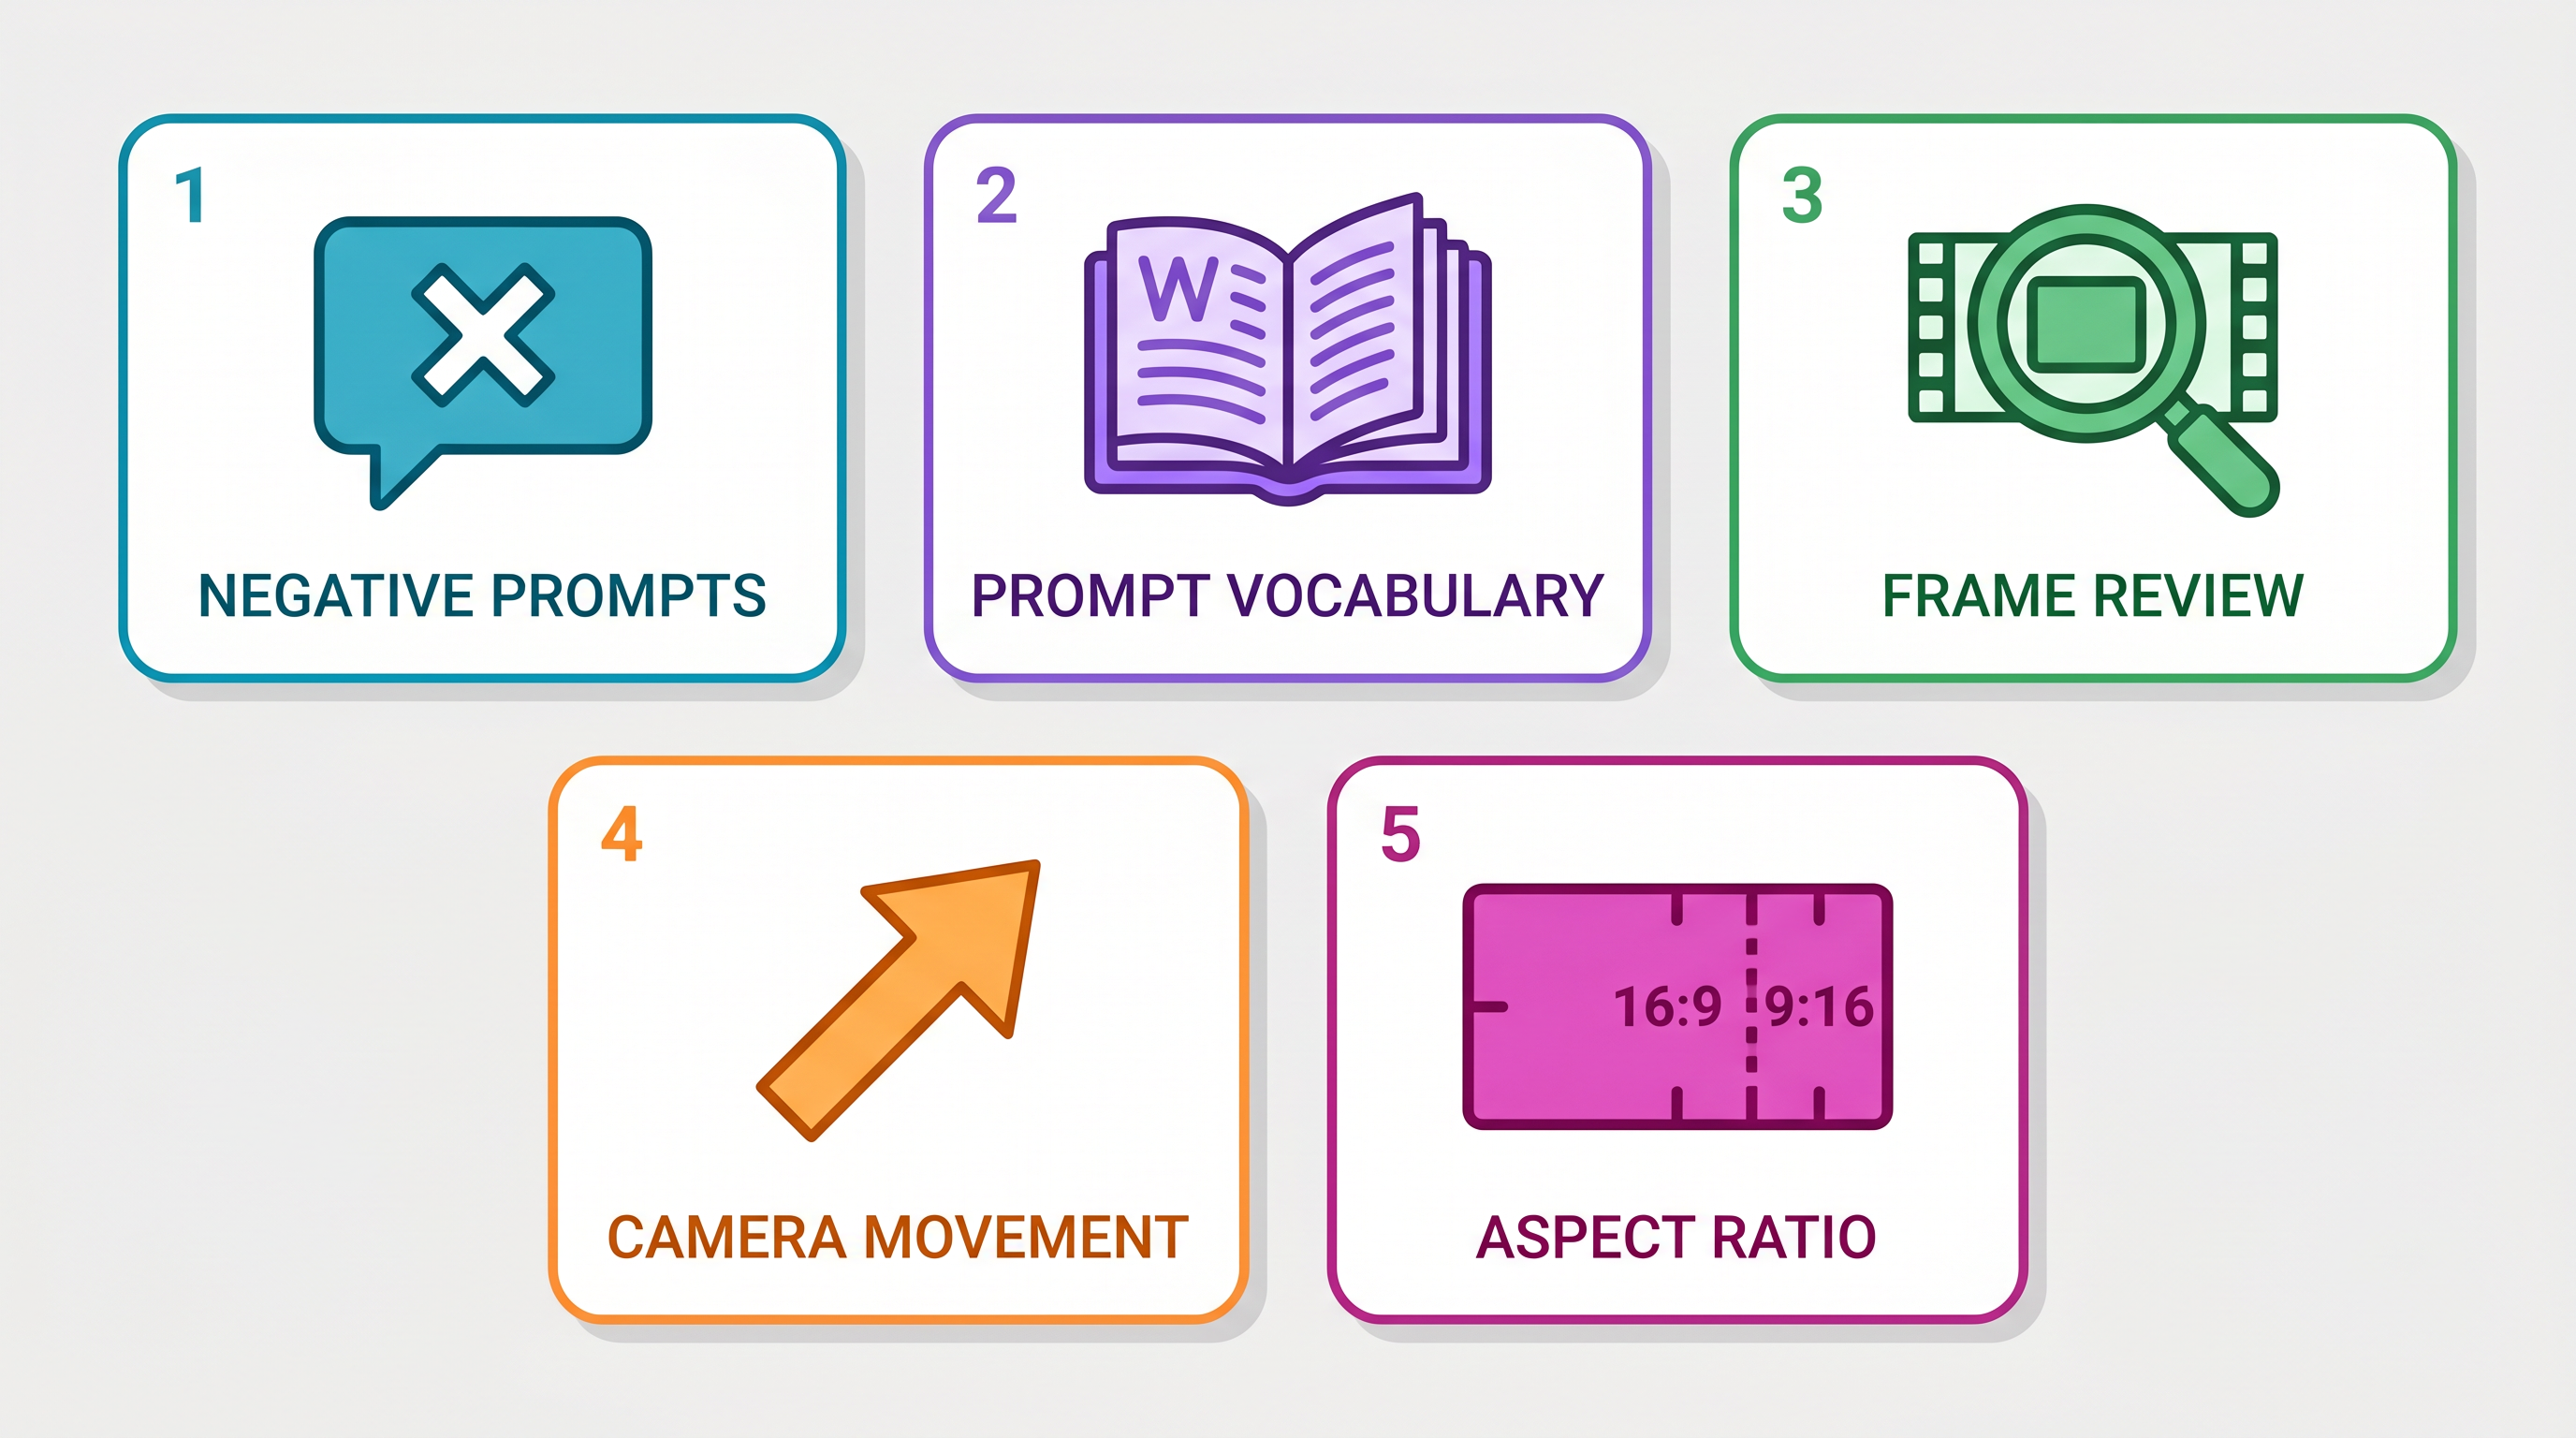
Use negative prompts when available. Adding "no flickering, no morphing, no blurry, no artifacts, no distortion" helps models avoid common pitfalls. Not every model supports negative prompts, but those that do show measurable improvement — particularly for face consistency.
-
Match prompt vocabulary to the model's training data. Models trained on cinematic footage respond better to film terminology ("dolly shot," "shallow depth of field," "anamorphic lens"). Models trained on animation content prefer illustration terms ("cel-shaded," "flat colors," "keyframe animation").
-
Review frame-by-frame before publishing. Scrub through your output at 0.25x speed or step through individual frames. Morphing and subtle flickering that you miss at full speed become obvious in slow-motion review.
-
Keep camera movement simple. Single-direction pans and static shots produce far fewer artifacts than complex multi-axis camera moves. If you need complex motion, break it into multiple clips with simple movements and edit them together.
-
Check your aspect ratio before generating. Generating in the wrong ratio (e.g., writing a 16:9 prompt but outputting 9:16) forces the model to crop or stretch content, introducing artifacts. Set the aspect ratio to match your distribution platform first.
FAQ
How do I fix flickering in AI-generated videos?
Flickering happens because AI models generate frames semi-independently, causing brightness and color inconsistencies. Fix it with frame interpolation software (like RIFE) to add smooth transitions between frames, apply color stabilization in DaVinci Resolve or similar tools, and specify "smooth continuous motion" and "consistent lighting" in your prompt. Trimming the first and last 0.5 seconds of clips also removes the worst flickering.
Why do faces morph and deform in AI videos?
Face morphing occurs when the model loses track of facial features across frames — a temporal consistency problem that gets worse with longer clips. Fix it by keeping clips under 5 seconds, choosing models with strong temporal consistency (Kling 3.0 is particularly good at faces), adding "consistent facial features, stable identity" to your prompt, and using a reference image of the face when the model supports it.
What's the best AI model for video quality in 2026?
No single model wins at everything. Kling 3.0 leads for realistic human subjects and complex motion. Wan 2.5/2.6 is the strongest open-source option for custom workflows. Seedance 2.0 handles narrative multi-shot well. Hailuo offers the best quality-to-cost ratio. The most reliable approach is testing the same prompt across 2-3 models and comparing — tools like AI Fruit make this easy by running multiple models in parallel.
How can I make AI video resolution higher?
Generate at the model's highest native resolution first — never upscale from a low base. After generation, use AI-specific upscalers like Real-ESRGAN or Topaz Video AI, which preserve detail better than standard upscaling. These tools are trained to handle the specific types of noise and artifacts found in AI-generated video, producing much cleaner results than generic bicubic or Lanczos upscaling.
How long should AI-generated video clips be for best quality?
Keep individual clips between 3-5 seconds. Quality drops noticeably after 5 seconds as temporal inconsistency accumulates — faces start morphing, objects drift, and physics breaks down. For longer content, generate multiple 3-5 second clips with consistent prompts and edit them together. This approach gives you professional-looking results while keeping each individual generation within the model's quality sweet spot.
Conclusion
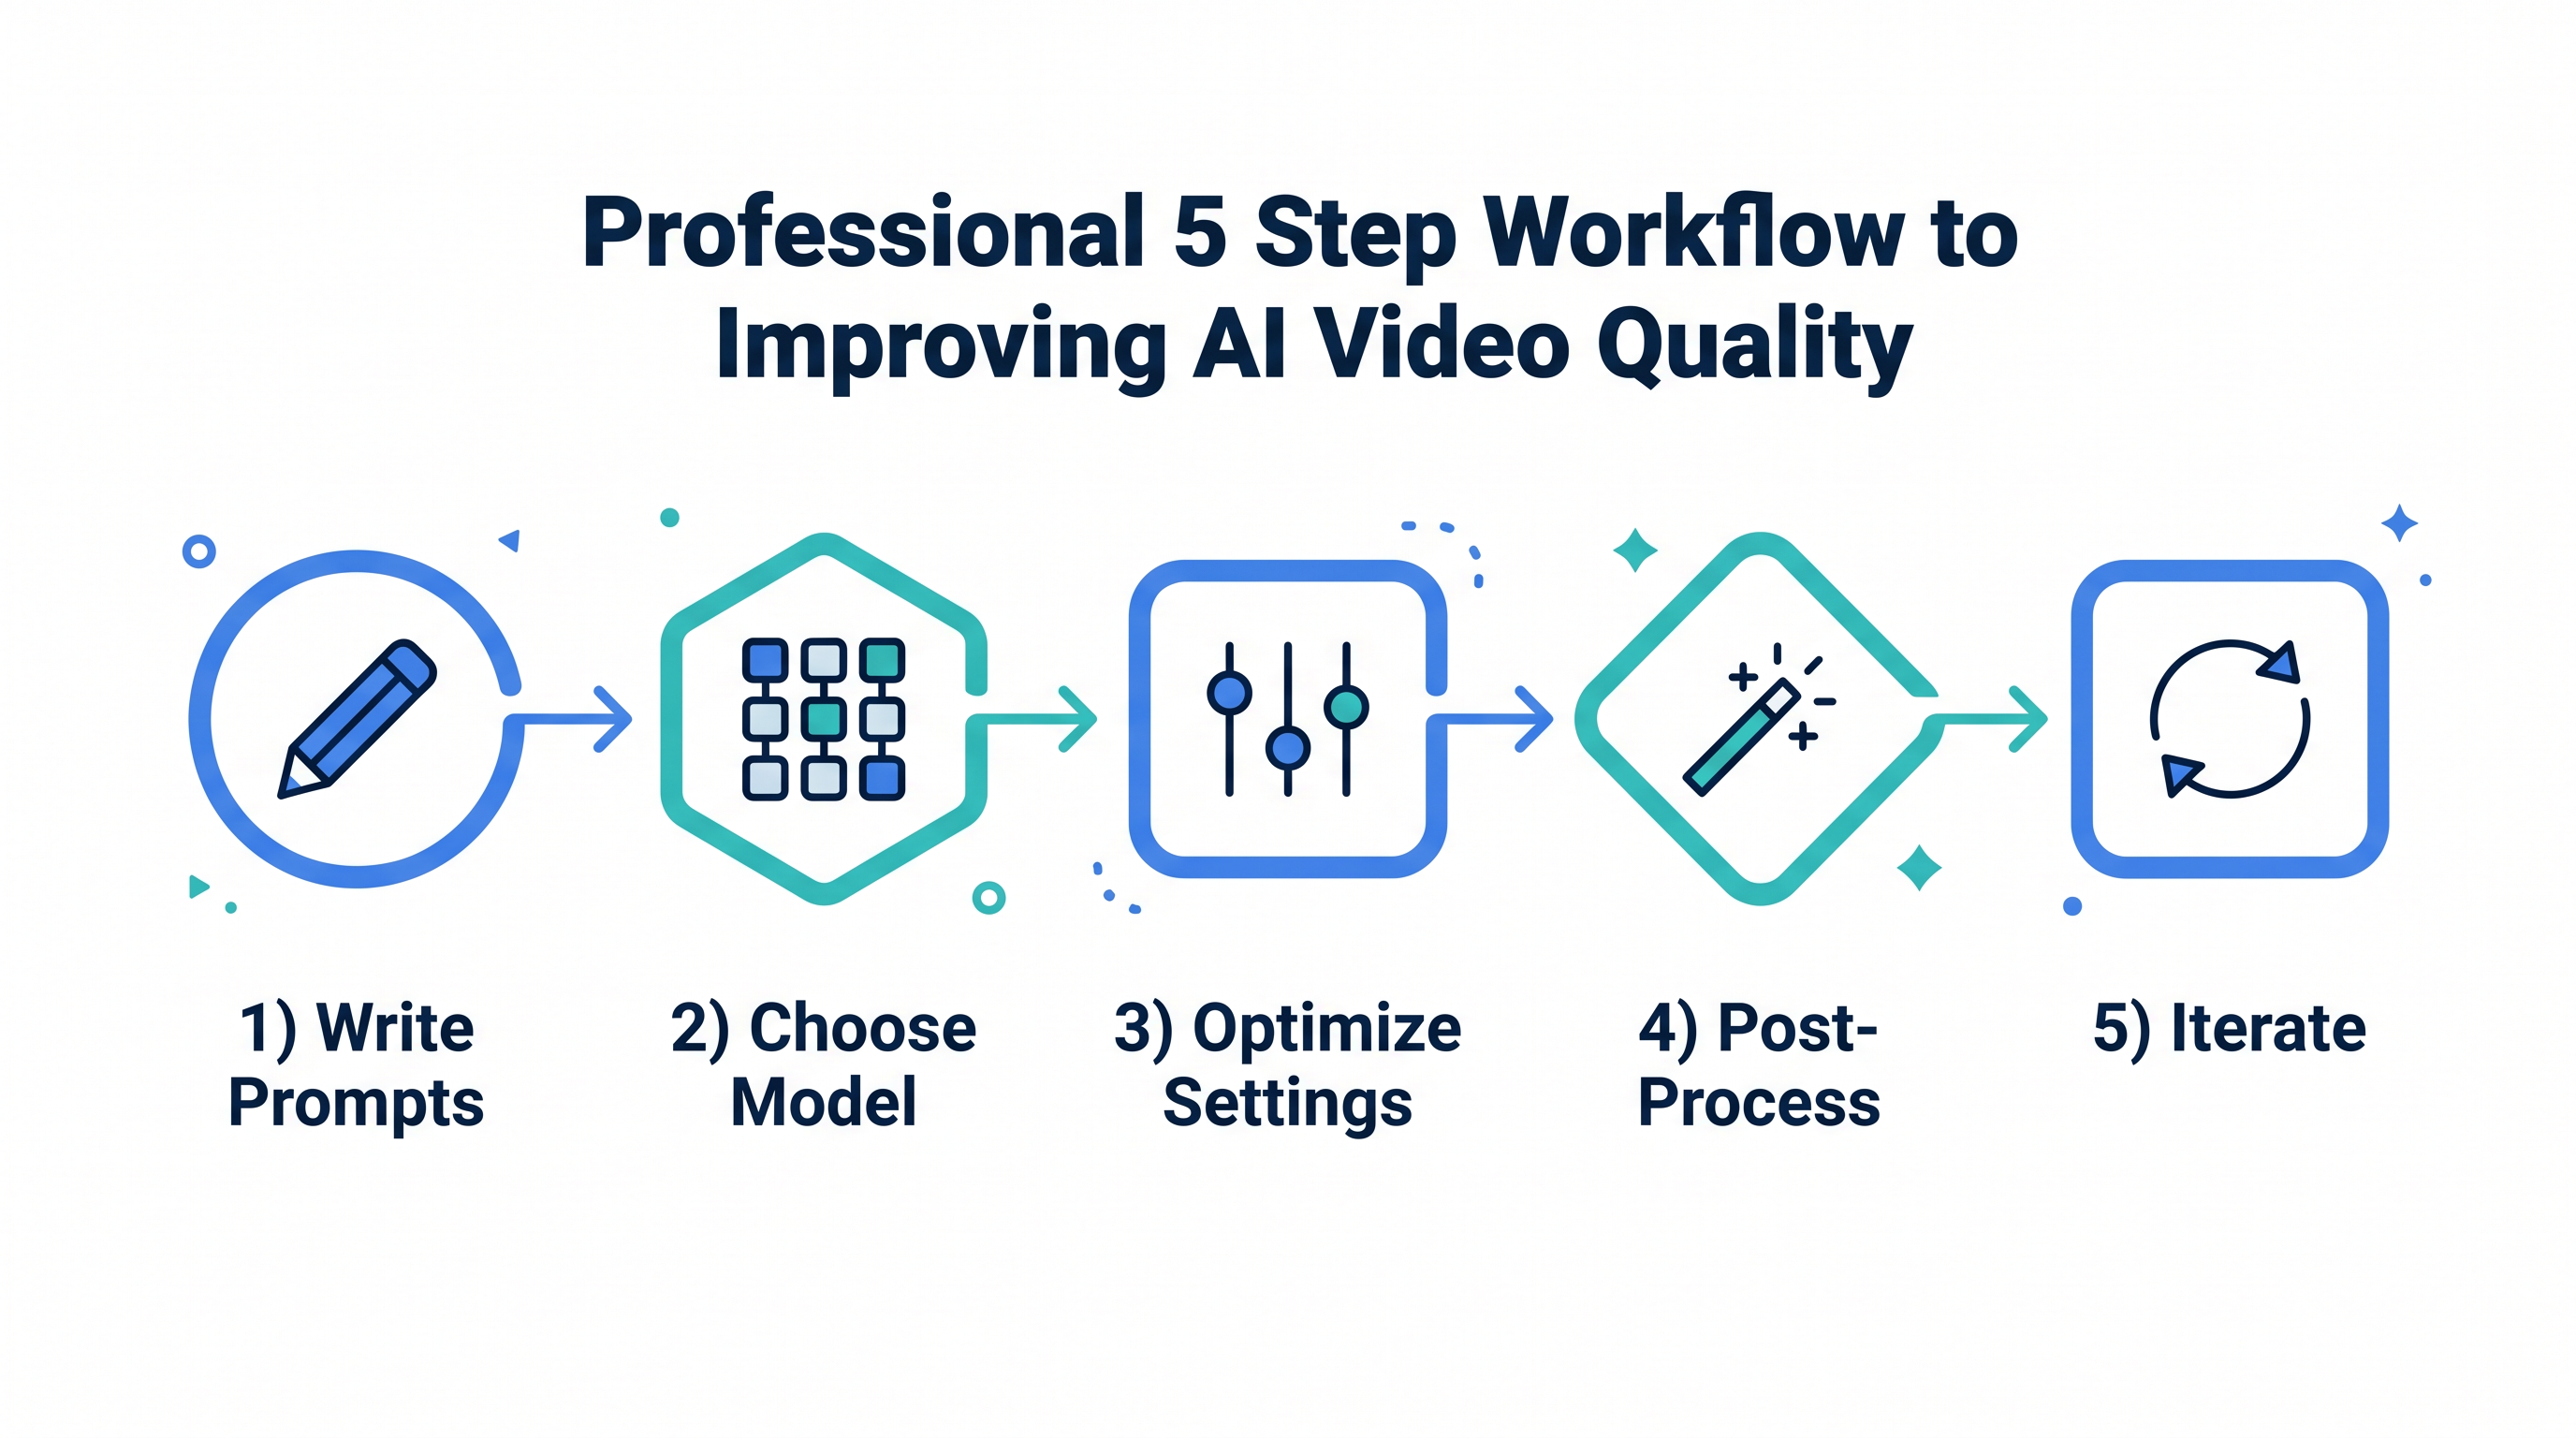
Fixing AI video quality comes down to five steps: write detailed prompts, pick the right model for your content, optimize generation settings, post-process the output, and iterate systematically.
The biggest quality gains come from Steps 1 and 2 — better prompts and model selection prevent most issues before they start. Post-processing and iteration handle the rest. As models like Kling 3.0 and Seedance 2.0 continue improving (distilled models now match 28-step teacher models in just 4 inference steps), the baseline quality keeps rising — but knowing these techniques still makes the difference between amateur and professional output.
Ready to compare AI video models side by side? Try AI Fruit free → — run one prompt through Wan, Seedance, Hailuo, and more to find the best output for your content. No credit card required.
Last updated: May 2026